Radiant tubing installed on top of an existing floor is called a “suspended slab”. Especially with new construction, this method can make a lot of sense because the thermal performance of the finished floor rivals a “slab on grade” installation…..and it doesn’t get any better than that. Unlike the staple-up within the floor joist method, the suspended slab incorporates sand, cement, or Gypcrete to store and diffuse thermal energy. The downside is added weight on the floor, possible loss of precious headroom, and (especially in retrofit situations) difficulty in making transitions into other rooms and adjusting door thresholds. Nevertheless, should you decide that the suspended slab method is best for your situation, here are a couple of installation techniques:
Pour a new floor
If you’re comfortable working with concrete, you can simply lay out your radiant tubing, connect your various loops to a conveniently placed manifold, pour a thin layer of concrete or Gypcrete over it, screed it level, and return hours later to your finished floor.
When installing PEX in a suspended slab you’ll need to attach the PEX to something, whether it’s stapled to the foam insulation “UNDER” the slab (if applicable) or “zip-tied” to the reinforcement “IN” the slab. We recommend a minimum of 1.5″ of coverage over the top of the PEX,… “IF” the concrete “IS” the finished floor, as this (recommended thickness) helps to minimize cracks and reduces “temperature striping” effect. If the concrete is NOT the finished floor and you are installing an additional floor material over the newly poured (thinner) slab, (for example) wood, tile, carpet etc., then the (recommended) inch and a half of coverage is not needed (nor as critical), given the fact that structural integrity is part of the original (existing) slab and (at this point) you are simply creating thermal mass with the thinner layer of concrete (of which) will be covered by the Finished floor. The general rule of thumb is that 3/4″ to 1″ is ideal coverage for gypcrete applications.
When pouring a suspended slab over an existing concrete floor, a layer of rigid insulation is installed, and the tubing can be attached to the old slab with tubing straps by power nailing directly into the concrete with a ram set. Or, wire mesh can be anchored to the concrete in the same manner and the tubing can be attached to the mesh.
The difficulty with this method is ending up with a clean, level floor. Most do-it-yourselfers probably don’t have the experience or comfort level to tackle a concrete job using this method. If you’re the exception, this may be the easiest approach for you.
Use 2 by 4 sleepers
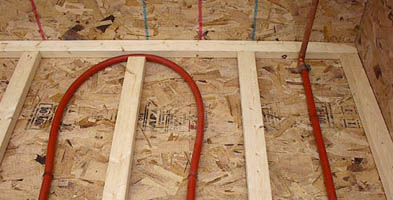
7/8″ PEX, 16″ on center, using sleepers to raise the floor 1 1/2″. The sleepers can be used to screed a nice level floor when pouring concrete, dry mix, or Gypcrete. If sand is used instead of concrete, plywood or hardwood flooring can be nailed to the sleepers.
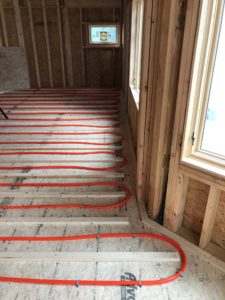
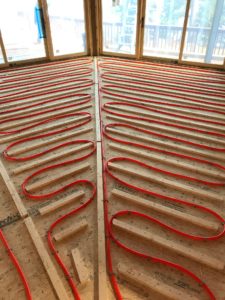
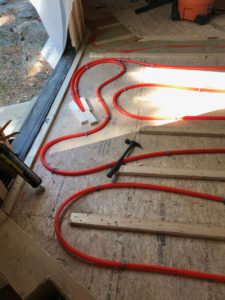
With this method, 2X4’s are laid flat across the existing floor, 16″ on center, to create “sleeper bays”. 2X3’s may also be used, are just as effective and usually much cheaper in cost. Depending upon which size tubing is used, one or two runs of radiant tubing are installed between each set of sleepers. The tubing is fastened to the plywood sub-floor with electrical conduit straps or copper tubing straps. Every other sleeper is staggered away from the wall, on both ends of the room, to give the tubing a channel to pass through.
- An example of a sleeper application with sand or concrete
- A crafty approach to a unique floor plan
- Another clever made to fit application
If the area to be heated is a small zone consisting of only one loop of tubing, then the beginning (supply) side of the radiant loop is connected to an insulated copper supply line from the heat source. The end (return) side of the radiant loop connects to the insulated copper return line. A simple one loop zone like this is only possible when less than 400 ft. of 7/8″ PEX tubing is required to fill a zone. Using ½” PEX limits that same zone to 300 ft. of tubing.
For most zones, multiple even loops (or circuits) of tubing are required. The reason is simple. If a given amount of square footage requires more than 400 ft. of tubing, say 1200 feet, and you tried to run the water continuously through that much tubing, you’d end up circulating tepid water through most of your floor. An unheated space would result.
The proper method involves constructing a site-built header…one for the supply side, and one for the return. It’s no more difficult than running domestic water lines and it assures an even, balanced flow of heated fluid through the radiant floor.
So, using the above example of 1200 feet of tubing in this fictional zone, you can see that the loop lengths can either be (3) 400 ft. circuits, or (4) 300 ft. circuits. Which method you use depends on your particular situation. Basically, whichever is easier. For this example, we’ll use (4) 300 ft. circuits.
Okay, you’ve installed all the tubing between the sleeper bays. You’ve got four circuits, so there will be four beginnings and four ends to your circuits. Your supply header will simply connect all the beginnings together and the ends will connect to the return header. If your circuits are all the same length (within 10%) the water won’t find a “path of least resistance” and the fluid will flow evenly though all the circuits. No balancing valves are required. And even though you’re passing the heated fluid through a total of 1200 feet of tubing, it never has to travel more than 300 feet before it’s on its way back to the heat source.
It should be noted that the suspended slab is treated exactly like a slab on grade when it comes to the use of couplings. In other words, don’t use them. Always run solid lengths of tubing in areas that will ultimately be virtually inaccessible.
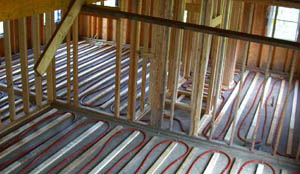
The actual placement of the supply and return headers is up to the installer. Often both headers are located beneath the sub-floor. A four inch slit, about 1″ wide, can be cut into the sub-floor to allow the tubing to make a long, comfortable bend to the joist cavity below. The headers themselves, which often run perpendicular to the joists, are fastened to the bottom of the joists with tubing straps. The PEX tubing ,bending down from above, can tee into the 3/4″ copper header pipe by using one of the standard brass adaptors. Later, the four-inch cut in the plywood can be filled in with spray foam to seal around the tubing.
By using a long, spread out header type manifold in this fashion, the installer can create a very clean, very flexible circuit layout, especially if sleepers are used. The far less desirable alternative would be a small, centrally located manifold with each circuit of tubing leaving and returning from one spot in the room. In large zones with many circuits, that spot in the room could be at the opposite end of the house, forcing the installer to figure out how to run an unwieldy cluster of supply and return lines back to the manifold. So in this sense, the suspended slab with sleepers is like a floor joist installation when it comes to running supply and return headers. In other words, it’s better to bring the headers to the tubing, instead of the tubing to a single small manifold.
Another method is to run the headers along the perimeter of the room and connect the tubing using brass adaptors.
Once all the connections are made, a thin layer of thermal mass is spread over the tubing, between the sleepers. If the final floor is to be hardwood, this thermal mass can be simple dry sand. The dry sand is poured into the bays up to the top of the sleepers and the hardwood is nailed to the sleepers. If the final floor is to be carpet or tile, the mass between the sleepers needs to harden. Concrete, sand, Gypcrete, or a dry mix of (4) parts sand (1) part Portland cement can be used. This last method involves a cement mixer and just enough water to give the mix a “sand castle” consistency. It’s not a wet slurry. The Portland cement will give the sand a slightly greenish tint and the mixture will dry hard as a rock. Once fully cured, you can then carpet, tile, Pergo, or whatever over it. An alternative method involves spreading out your sand, then nailing plywood to the sleepers. The plywood can then support tile, carpet, etc.
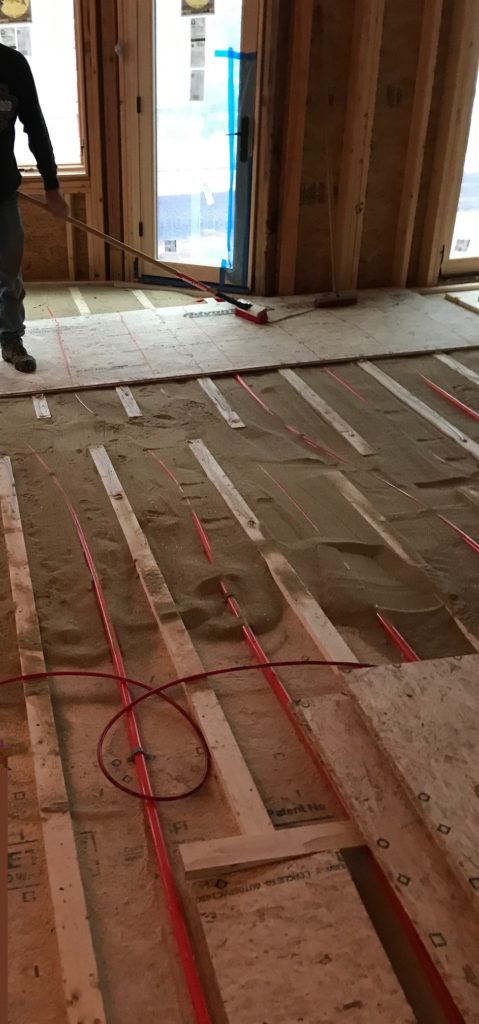
Dry sand is an excellent thermal mass. In this application, a layer of sand is poured into the sleeper bays, then OSB (oriented strand board), or plywood is fastened to the sleepers. The final floor can be carpet, tile, Pergo, or any material requiring a solid surface.
If the existing floor is concrete, the sleepers are glued to the floor using Liquid Nails and the tubing can be taped to the floor. If taping seems a little weak, then wire mesh can be fastened to the edges of the 2 by 4 sleepers, run along the bottom of the sleeper bays, and the tubing attached to the mesh. A ram set and tubing straps can also be used.
In the case of an existing, uninsulated concrete slab, rigid foam can be installed under the wire mesh to prevent heat loss downward. A pre-existing insulated slab can be utilized for it’s thermal storage capabilities.
Another way to install a new radiant floor over an existing floor is to use the sleeper application. This is an alternative to pre-cut/formed “board” type panels for a fraction of the cost… click on this link for greater details!! The previous link shows eight photos illustrating a method developed by one of our technicians to create an elegant and very effective layout for one of our local customers.
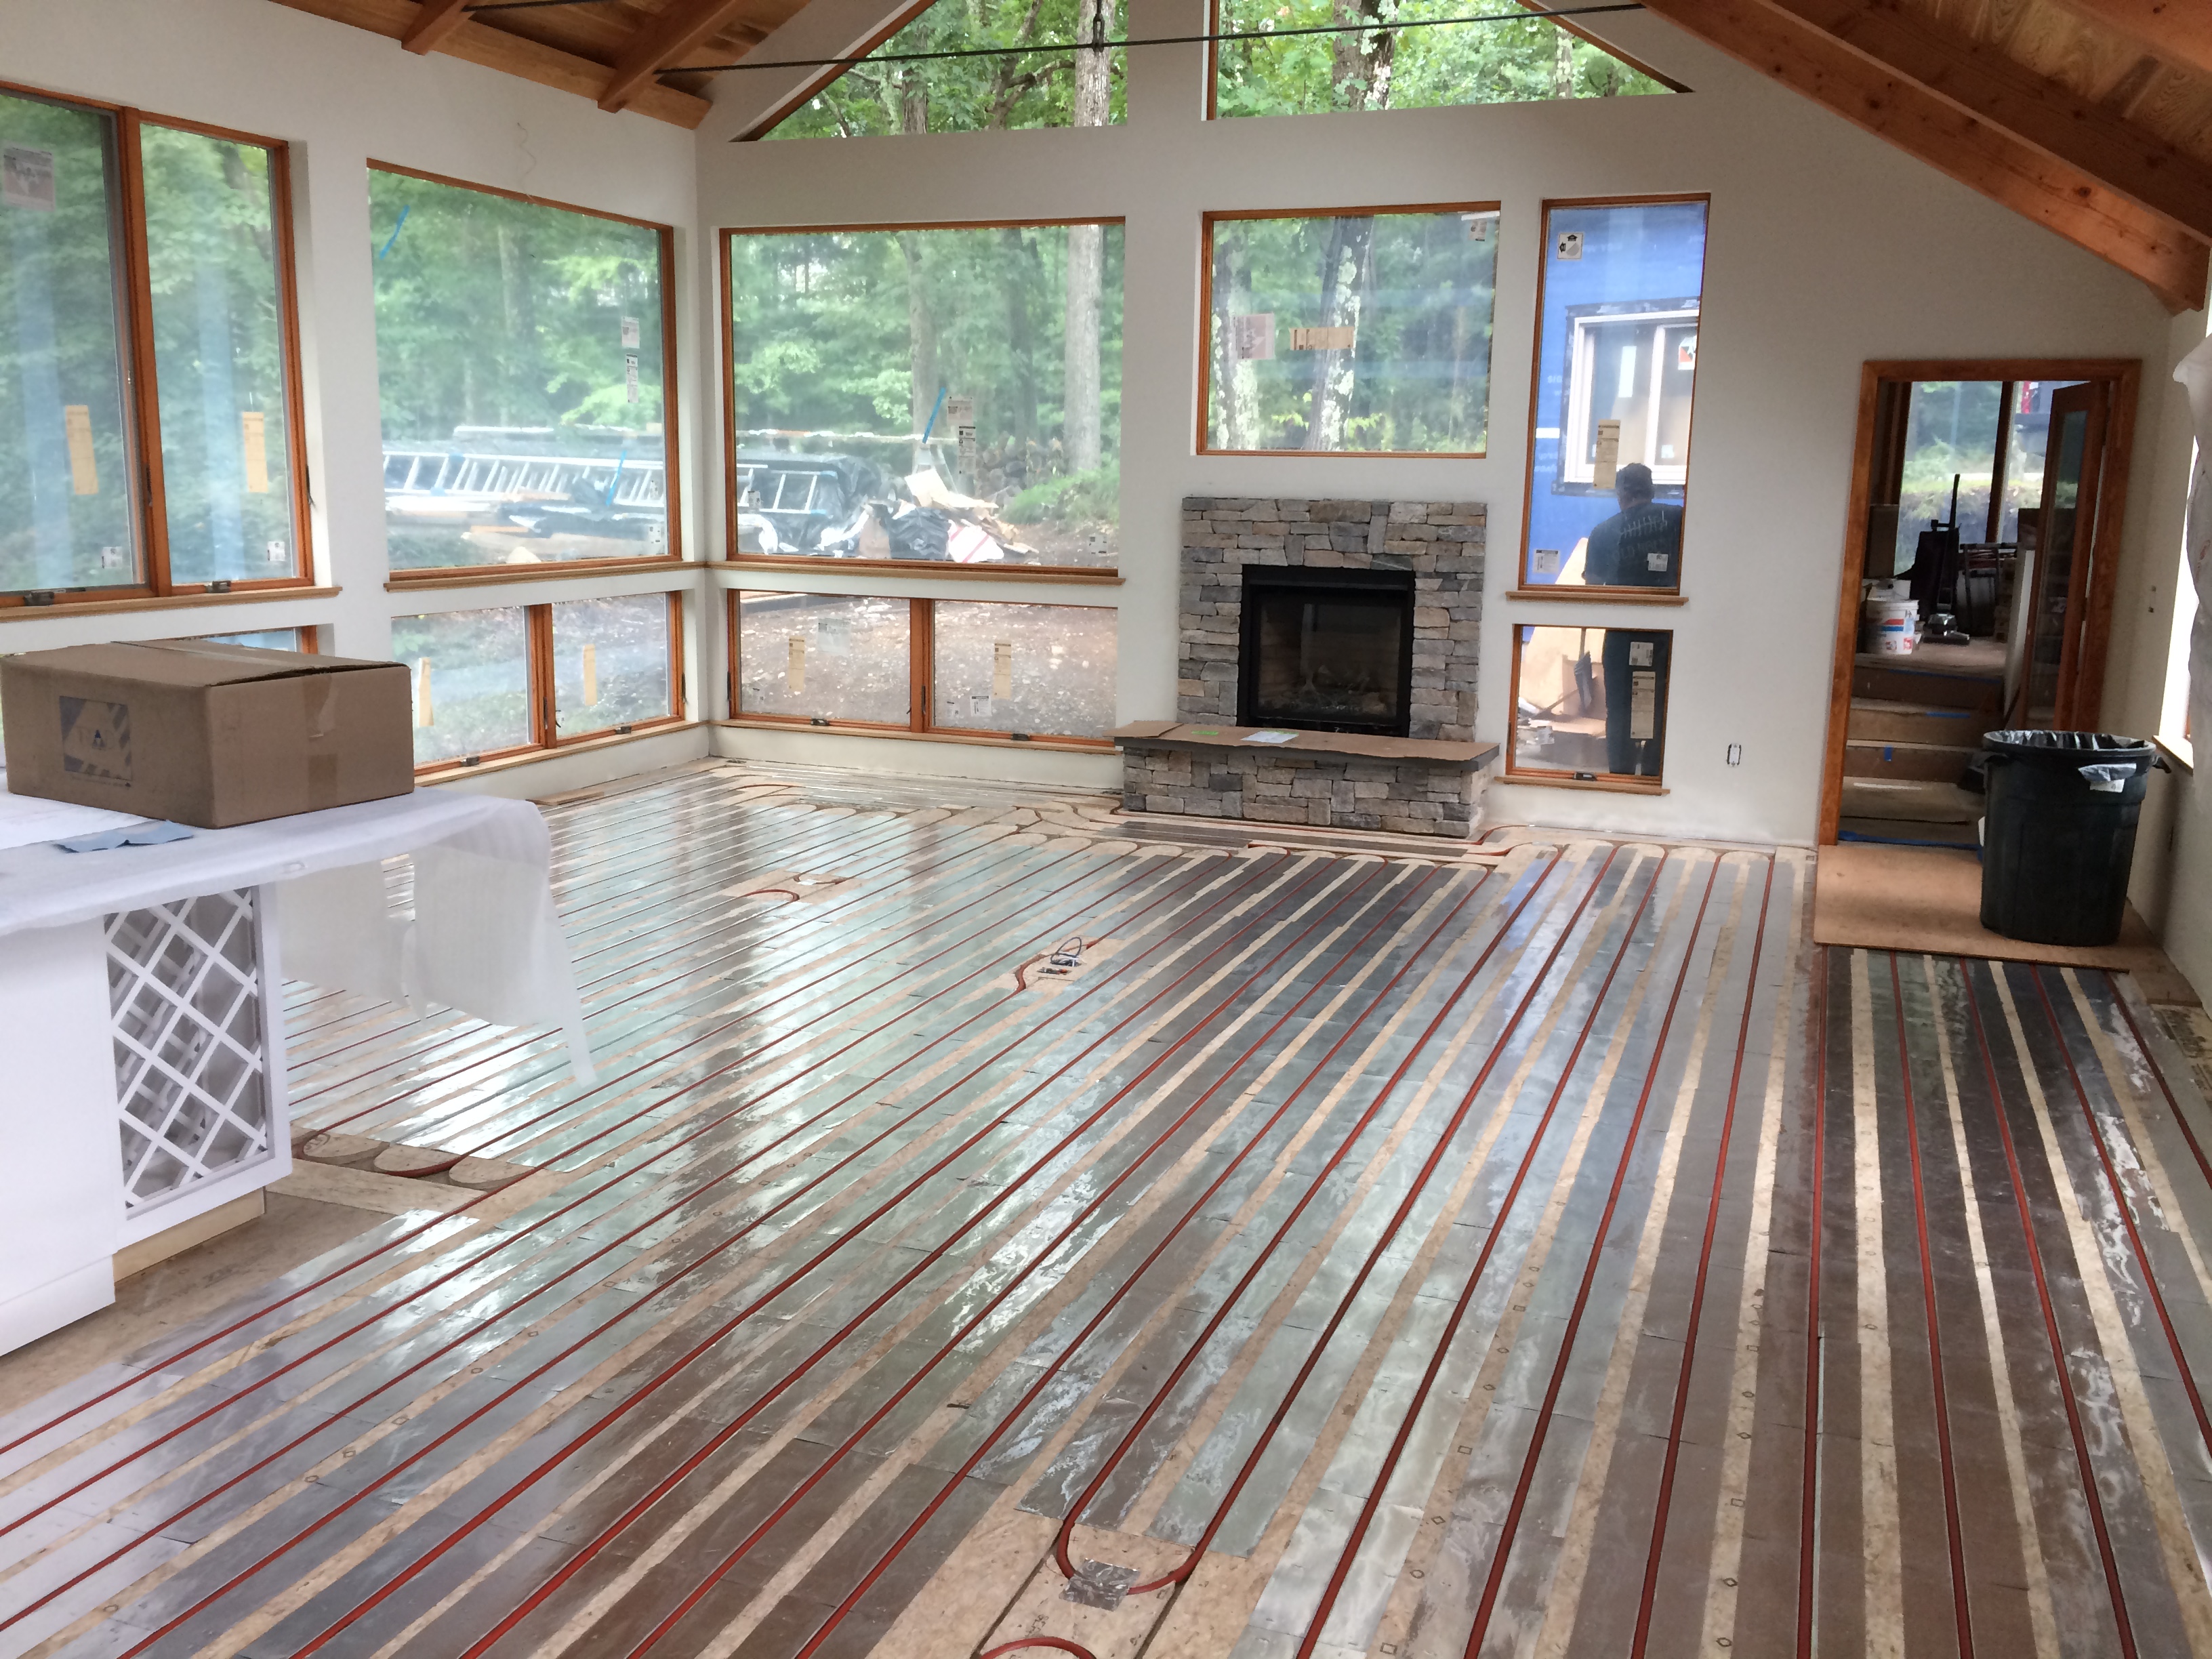
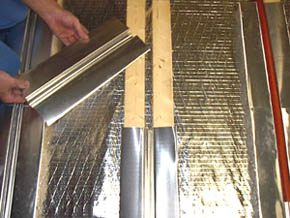
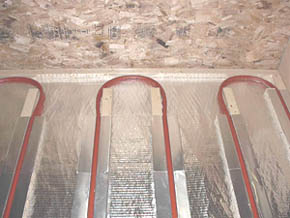
One final variation of the suspended slab applies when the weight of the sand or concrete threatens to exceed the floor’s desired load limits. In this event, aluminum heat diffusion plates are used as a substitute for the thermal mass of the sand/concrete. They hold the tubing to the floor and help spread the heat evenly throughout the zone. But a percentage of the floor’s thermal performance is lost due to the lesser amount of thermal mass in the system. If the suspended slab is installed over an existing plywood sub floor, insulate the joist cavity below the sub floor. This directs the thermal energy into the intended living space and prevents the heat from flowing downward.
Below are installations illustrating alternatives to pre-formed “Board” panels for a fraction of the cost
- A prime example of 3/4″ OSB/plywood sleeper & heat fin application
- Alternative installation to the expensive “Board” type design
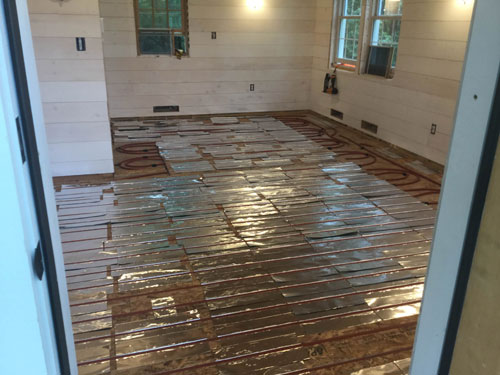
Parallel boards are run on the floor to create a channel for the PEX tubing, then heat diffusion plates are fastened to the boards. Note that a radiant reflective material has been stapled to the entire sub-floor. This pure aluminum material will reflect 97% of the thermal energy up to the finished floor.
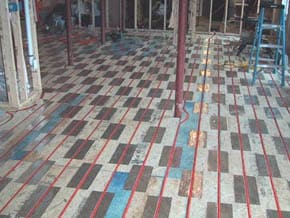
A sleeper system using heat diffusion plates instead of sand or concrete. Hardwood or plywood can now be installed on top of the sleepers.
When to use twice the normal amount of tubing
When you’re installing a radiant floor in high heat loss areas such as poorly insulated homes or modern dwellings with lots of glass and high ceilings, it’s often necessary to double up on your tubing. In the case of 7/8″ PEX, normally installed 16″ on center, the tubing should be placed 8″ on center. The proper method of doing this is to run the PEX as you would normally, 16″ on center on the straightaways, and a nice comfortable 24″ radius on the bends. Then, when you’ve covered the entire zone, simply repeat the process from the beginning. This way you’ll end up with two runs of tubing roughly parallel to each other, about 8″ apart, but you won’t have to attempt an impossibly tight bend to do it.

