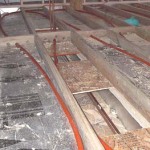
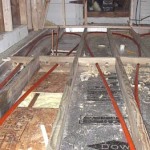
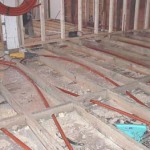
- Mounting the ledgers This floor was built on top of an existing slab. Obviously, there was no access from below so the tubing will be installed on a “false floor” created by mounting ledger boards about 3″ below the top of the joists and decking the ledgers with OSB. Standard plywood can be used as well.
- Insulate below the ledger floor: Because the area below the “false floor” is likely to be cold, it’s important to fill any cavity below the ledger system with insulation. In this case, water infiltration was not an issue, so standard fiberglass was used to isolate the new radiant floor from the cold space below. If water seepage below the floor is possible, use Extruded Polystyrene foam in place of fiberglass.
- Use a reflective surface:In many ledger systems, a thin layer of sand is poured over the tubing. This extra thermal mass increases the performance of the floor and helps diffuse the heat evenly throughout the floor. In this instance, sand was not practical due to limited access from outside to this space. The solution was to install a radiant reflective surface on top of the OSB as a way of directing the radiant heat up to the floor above. Later, when the tubing is fastened to the OSB in an even 16″ on center spacing, the heated cavity of air within the bay will thoroughly warm the floor and the room above.


